Forms
Your gateway to conversations, clients, and sales.
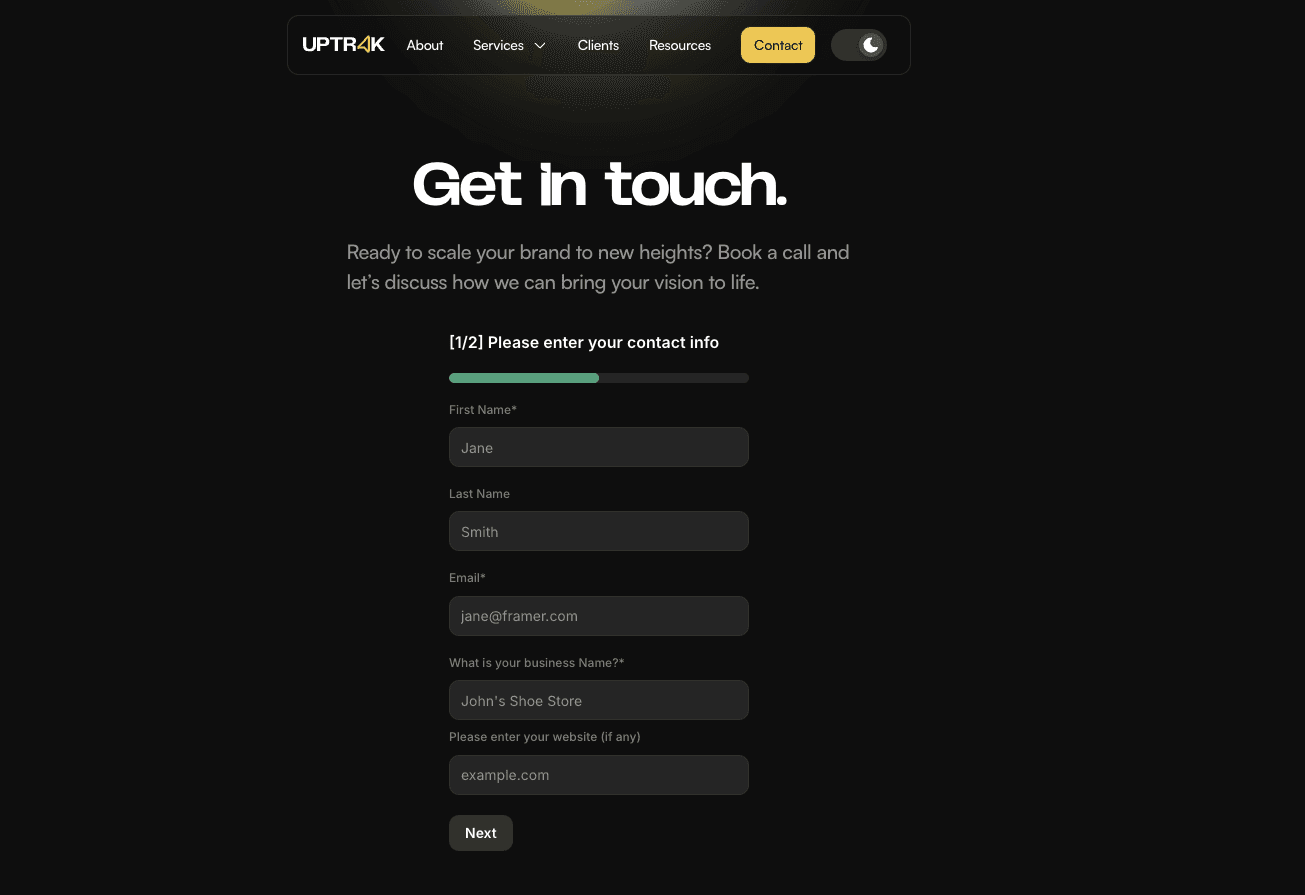
This lesson walks you through how to build contact and enquiry forms in Framer that actually work. You'll learn how to structure, style, and connect your forms so users can easily get in touch

🗺️ getting Oriented
This lesson breaks down how to structure and style enquiry forms in Framer. You’ll learn how each layer of the form works, from the container stack to the submit button, and how to make sure your form is functional, accessible, and properly connected.
You'll also explore how to use form submissions for follow-up actions like redirects, email integrations, webhooks, or conversion tracking.
How to add Forms to your website
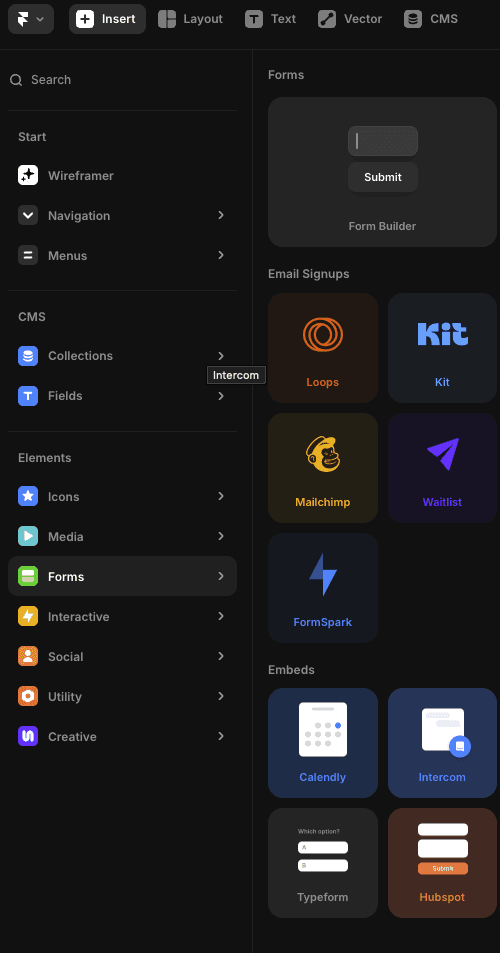
There are more than a couple of native form integrations you can insert into your Framer project.
Today, we'll be looking at Framer's standard 'form-builder' widget.
Learning Outcomes
By the end of this lesson, you’ll be able to:
Identify and use all five key form layers in Framer
Style and connect each layer to support usability and accessibility
Send submissions to email, Sheets, or automation tools
Build a fully working contact form for your Surfwide project
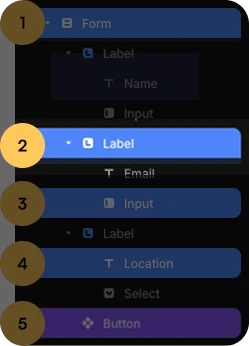
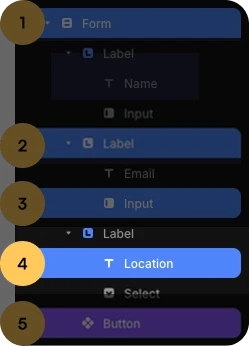
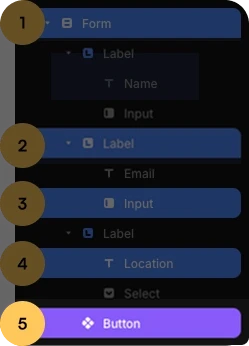
The Anatomy of a Framer Form
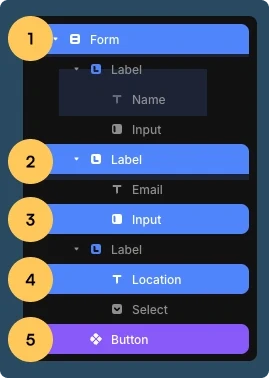
Today, we'll be working through each of the above layers, and how to use them. Let's rock and/or roll.
Contents
The Form Layer
The Label Layer
The Input Layer
The Text Layer
The Button Layer
Create a Contact Form for Surfwide 🏋🏻♂️
1. The Form Layer
Forms can be styled, just like any other stack in Framer. So, there's really not much more you need to know
Layout & Styling
Forms can be styled, just like any other stack in Framer. So, there's really not much more you need to know here.
Send-To Properties
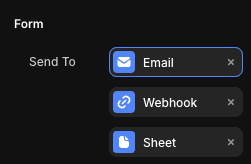
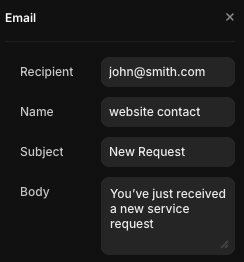
📩 Send to Email
Pretty self explanatory really! In the email that gets sent to the recipient, the form submission (i.e. name, email, message etc.) will appear below the 'Body' message.
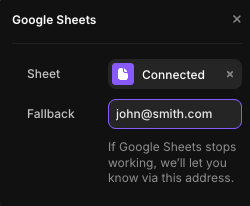
📗 Google Sheets
This is also pretty self-explanatory. If you have a Google Account, you can integrate it to ensure all enquiries are captured.
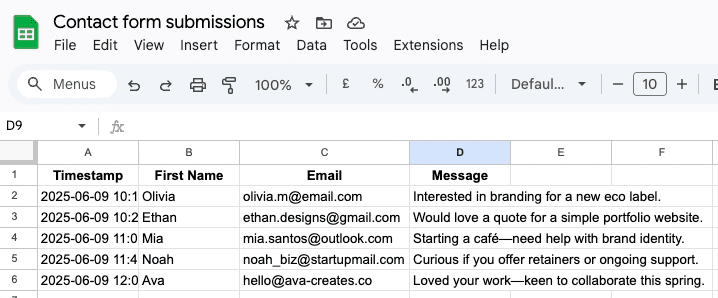
Side note: Just be aware, by doing this, you're now technically sharing people's data with Google. So, you should reflect this in your privacy policy.
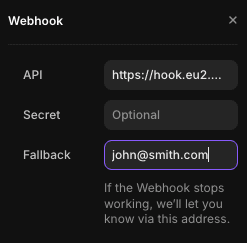
🪝 Webhook
If you use a marketing or automation tool, you can configure a webhook so that when a form is submitted, the data is instantly received.
This will be your best option if you want to set up some kind of automated sequence (i.e. welcome / onboarding / customer support) etc.

Redirect
Redirect is an option to redirect the visitor to a specific web-page or URL once they've submitted the form. There are a few reasons you might want to do this, the most popular being:
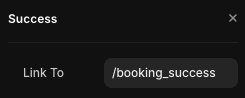
There are a few reasons you might want to do this, the most popular being:
🤗 User Experience
When someone sees a nice big 'Thank you' or 'Welcome', it reassures them that their message or info was received and prevents accidental resubmission (e.g. hitting “refresh”).
📊 Conversion Tracking & Funnel analysis!
If someone lands on that page, it means they've (almost certainly) completed your form. Start tracking page traffic on the success page as an important node/milestone in your lead funnel.
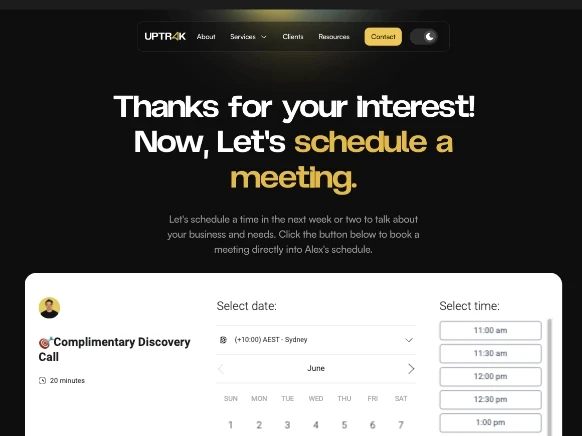
🤝 Onboarding / Sales Funnel Progression
On form submission, the next step might be to schedule a phone call or meeting.
🧲 Lead Magnets
Keep the momentum going. Send the interested party to a page where they can download free resources to keep them engaged.
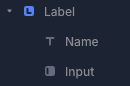
2. The Label Layer
This unusual little stack is more important than it looks. Why are text and input fields wrapped inside it?
Making Forms Accessible
The label layer improves accessibility. It helps screen readers understand what each form field does.
It also allows users to click on the label to focus the input, improving the experience for keyboard and assistive tech users.
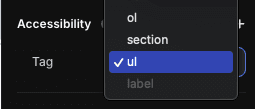
Demo: The 'label' accessibility tag isn't available for frames outside a form stack - like this yellow one.
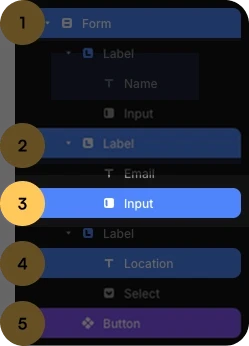
3. The Input Layer
This is where the real magic happens.
How to add fields to a Form
Many people just duplicate existing 'label' stacks already inside the form, and adapt the field accordingly.
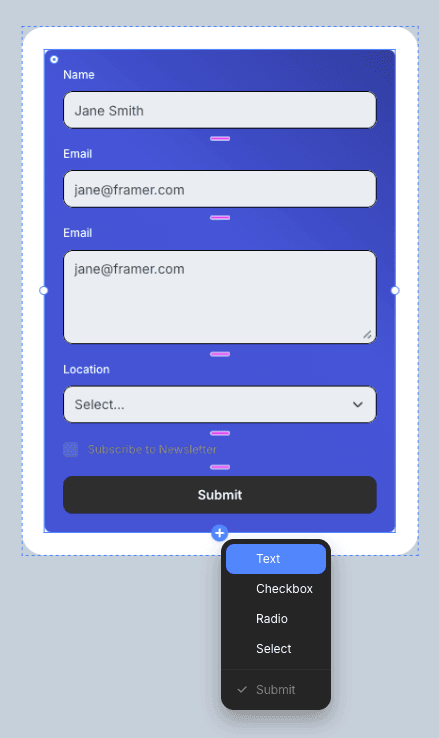
Alternatively, If you select the form layer, a little + icon will appear at the bottom. From there, you can select from four standard CATEGORY options:
text,
checkbox,
radio,
select,
(… and a 'Submit' button if your form is missing a button).
The four options above represent the four major input CATEGORIES Framer supports. The next section shows you which specific input fields fall into each category.
Available Text Fields by Category
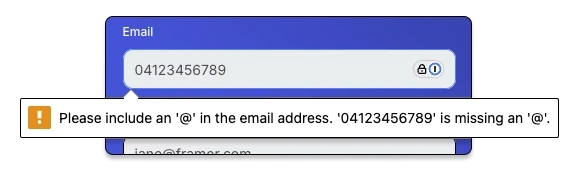
Now we'll look at some of the more specific fields that Framer supports. Before we go any further though, we need to understand that these fields have been specifically defined in order to support data validation.
What is data validation?
Data validation checks if the input in a form field is correct and allowed. For example, making sure someone hasn't entered a phone number where you were asking for an email.
1️⃣ Text Fields
Enter some kind of text/number value.
2️⃣ Select FIeld
Chose options from a drop-down menu.At the time of writing, Framer's select field ONLY supports single select from the dropdown.

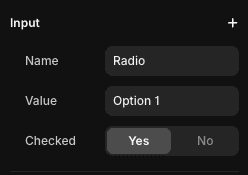
3️⃣ Radio Field
Select ONE item from a group of several options.

4️⃣ Checkbox Field
Toggle on/off one or multiple items.
Stadard Properties to be aware of
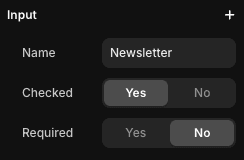
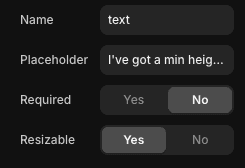
Name: This is the identifier that gets saved with each form entry, like a column title in a spreadsheet. Use standard naming conventions like email or first_name to help browsers autofill accurately.
Placeholder: A short hint that appears inside the field before the user types. i.e. Enter your date of birth or 27/07/1979
Required: Will prevent the user from submitting the form until that field has been completed/updated in a certain way.
Resizable: Allows the field box to grow as more text/info is included.
4. The Text Layer
The text layer inside this element is just that, a text layer. Same customisation as you're used to.
I don't like lables. I prefer to keep my forms clean. Can I just delete them?
Unfortunately, the LABEL fields are specifically built to DEPEND on the presence of these nested text fields. Without them, screen readers don't actually work.
In other words, simply deleting the fields will render screen-reader useless. Depending on where you are in the world, breaches like this can actually result in legal issues!
Are there any workarounds?
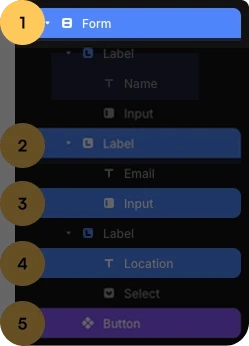
Sure there are! So long as the label is there in the layers panel, it will work! So, all we need to do is just hide the label element from physical view.
❌ It's NOT recommended to use hard limiting methods like setting 'visible' to No.
Here are some levers you can pull though
Apply absolute positioning.
Set opacity to 0
Styles > + > User Select > None
That should do it, but other options include
Set Z-index to -1
Pin the element's position 5000px off screen, and set its parent element's overflow to 'hidden'
Try to locate my labels!
👇
☝
5. The Button Layer
The form button is a specific component build for Framer's forms.
Framer's Forms Rely on the Button having Several Key Variants
For a button to support Framer's forms, it needs to have variants configured inside its components which support the following form states:
Default
Loading
Success
Error
Disabled (aka incomplete)
These variants are applied to the form via the Form State Properties. That's all you need to do.

How to Customise Buttons
You have a few options
Build them from scratch, including all variants
Insert a standard form into your project. Right click the button to 'Unlink' it, and create a local button in your project files. Customise all the variants as you please, like you would any other variant.
Use Apply this to forms on your site.
Here's a quick demo…

Demo not appearing?
You can find it here: https://guides.uptrak.io/share/cmbp87xsi005hkv07muebo4bq/tour
How to Add Custom buttons to a form?
You have a few options
Build them from scratch, including all variants
Insert a standard form into your project. Right click the button to 'Unlink' it, and create a local button in your project files. Customise all the variants as you please, like you would any other variant.
Use Apply this to forms on your site.
Here's a quick demo…
Demo not appearing?
You can find it here: https://guides.uptrak.io/share/cmbp7rjfx000xlb07026jq8s8/tour